
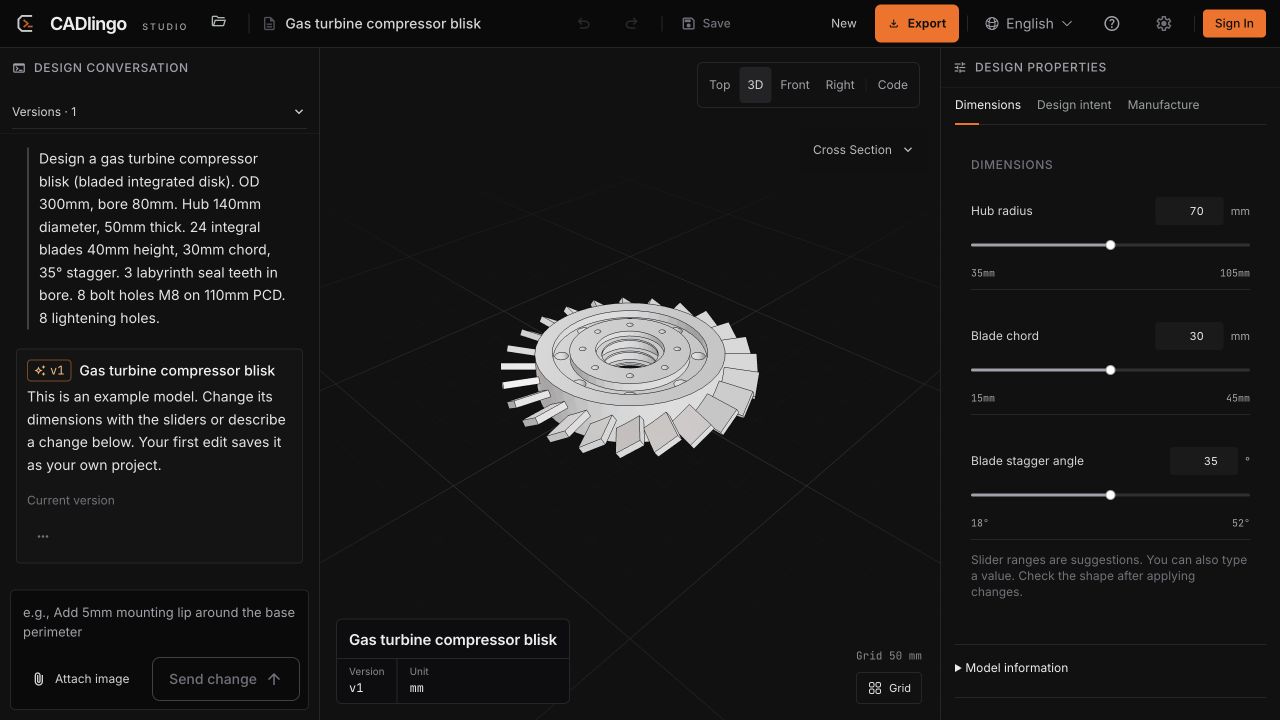
A compressor blisk brings several features together: a central hub, a ring of blades, a bore, and mounting holes. Open the example in CADlingo and you can examine the model alongside its original brief and editable dimensions.
That workflow is the focus of CADlingo 2.0: describe a part, inspect the result, and keep refining it.
What has changed
Since the first version, we have focused development on more complex geometry, models made up of multiple parts, and the work that happens after generation.
You can explore generated examples, inspect individual parts when a model includes a part list, and request changes in plain language. Designs with editable parameters also let you adjust those values directly.
Watch the CADlingo 2.0 previewThe short video combines recorded product screens with rendered views of generated models. Generation footage is sped up, and some section and exploded views were prepared for the video.
Inspect the details that matter
Start with the overall shape, then check the features your part depends on: a mounting hole, an opening, a wall, or the space between two components. Use the available views and section controls to look beyond the outside surface.
For models with separate parts, selecting a part lets you inspect it individually and choose it for export when its file is available. Selecting a part in the viewer does not, by itself, constrain an AI edit to that part.
Make the next change specific
An edit is easier to assess when it asks for one concrete change. Name the feature, give its new dimensions, and say what should stay the same. For a housing, a request might look like this:
Increase the wall thickness from 2 mm to 3 mm. Keep the outside dimensions and mounting-hole positions unchanged.
This illustrates how to phrase a request; it is not a measured result from this article. After an edit, compare the affected features and nearby geometry with your requirements. Where the model exposes the relevant parameter, you can also change its value directly.
Export for the next step
Free accounts can export STL. STEP is available with an eligible paid plan; the export menu shows the formats available for the current design.
CADlingo is in beta. Before printing, machining, or using a part, check the exported geometry, dimensions, clearances, and material requirements in your intended workflow. A generated model still needs engineering judgment.
Try it with a part you need
Start with a bracket, an enclosure, or a fixture you have a reason to make. Describe its purpose, critical dimensions, and how it connects to other parts. Inspect the first result, then make a specific revision.